Post Production Asset Breakdown: Chasmfiend
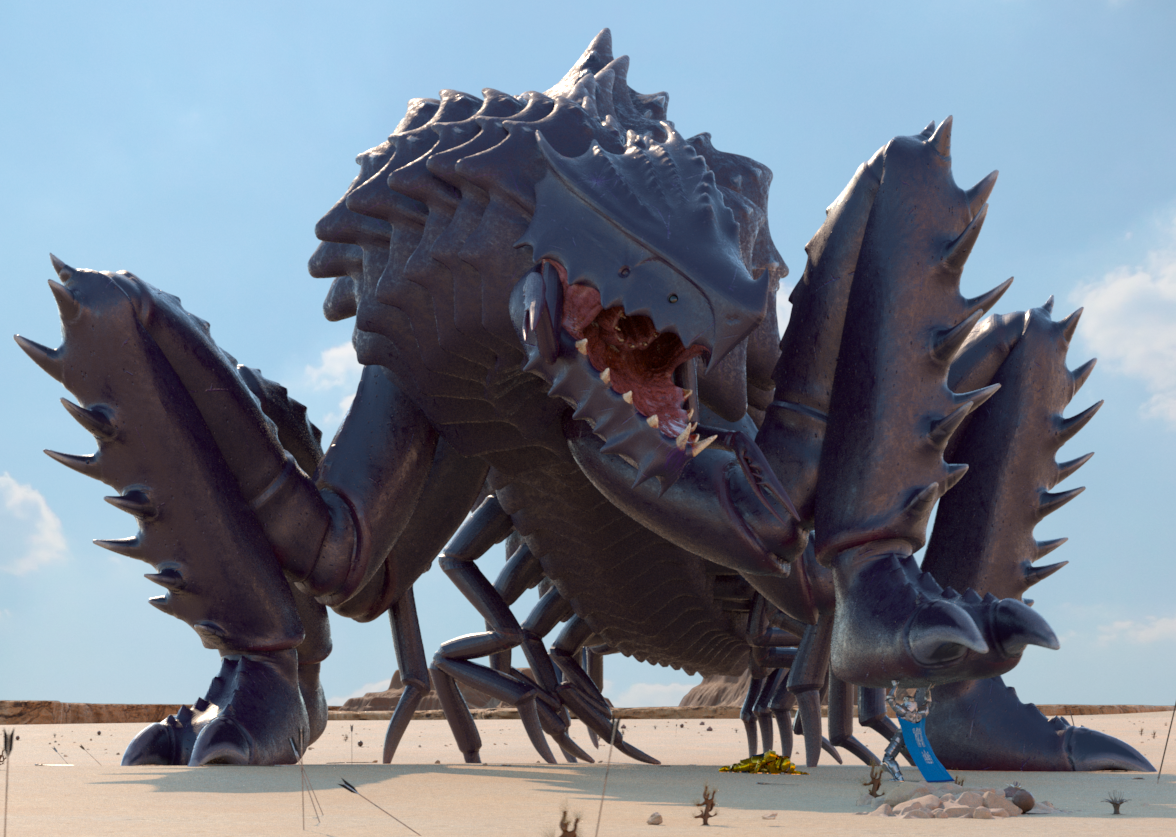
The following is a post production asset breakdown for one of the assets I did for this years major project, the Chasmfiend.
Production Plan:
The Plan for the Chasmfiend was to break it down into separate parts, such as the front legs, head, body segment, etc. This allowed for individual parts to be approved or adjusted as per feedback on an individual part basis. One such request was to make the front legs thicker.
I requested feedback from other team members, teachers and the team leader/director throughout the development process, which was then incorporated throughout the creation process.
For texturing the plan was to use Substance Painter to allow for easy iteration and changes.
Production:
A simple block out model was created first in Maya to get the correct proportions and scale of the different body parts in relation to each other. The individual parts were then taken into ZBrush and converted to dynamesh for the sculpting of the base shape. Each part was then taken into 3DCoat and retopologised into a low polygon version suitable for rigging and animating. With UV’ing was also done at the same time in 3D Coat. At this point the Chasmfiend was rigged and animation started, while the detailed sculpt was being done in ZBrush.
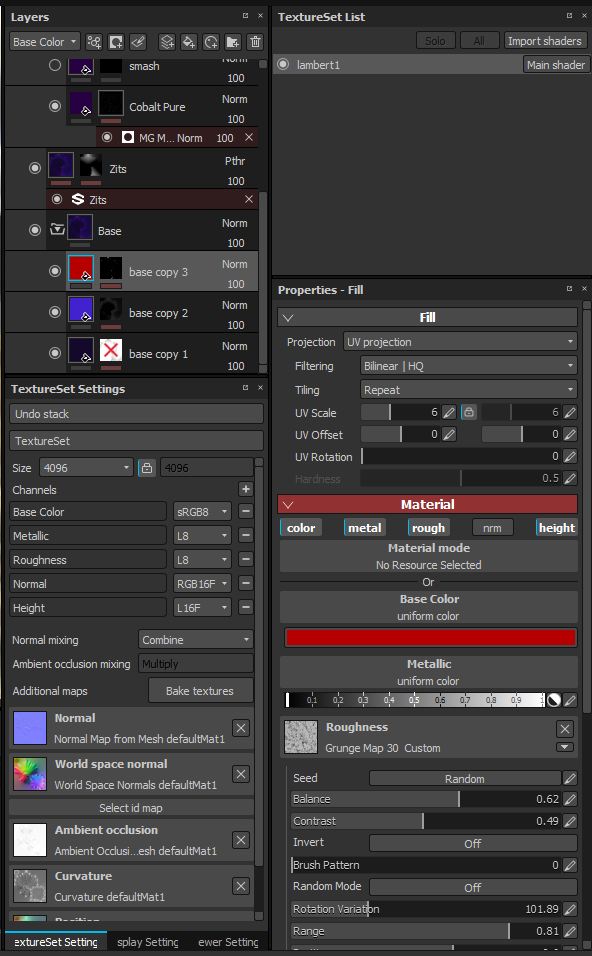
After sculpting, texturing was done in Substance Painter and as it allowed for easy adjustment of texture colour and features, as other than the eye (which I hand painted) everything was created using smart masks (which can be adjustable at any time), and changing colours is as simple as changing the colour in the required fill layers. This allowed me to sit down with our director David and make changes and try different looks based on his feedback as he made it.
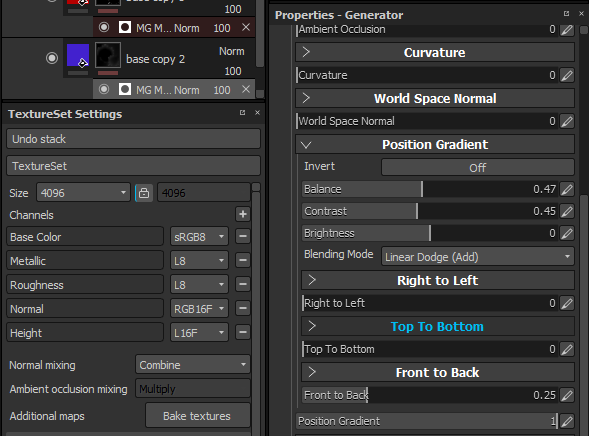
Changing the settings of a Smart Mask in Substance Painter to get a gradient falloff of the layer from the front to the back of the model.
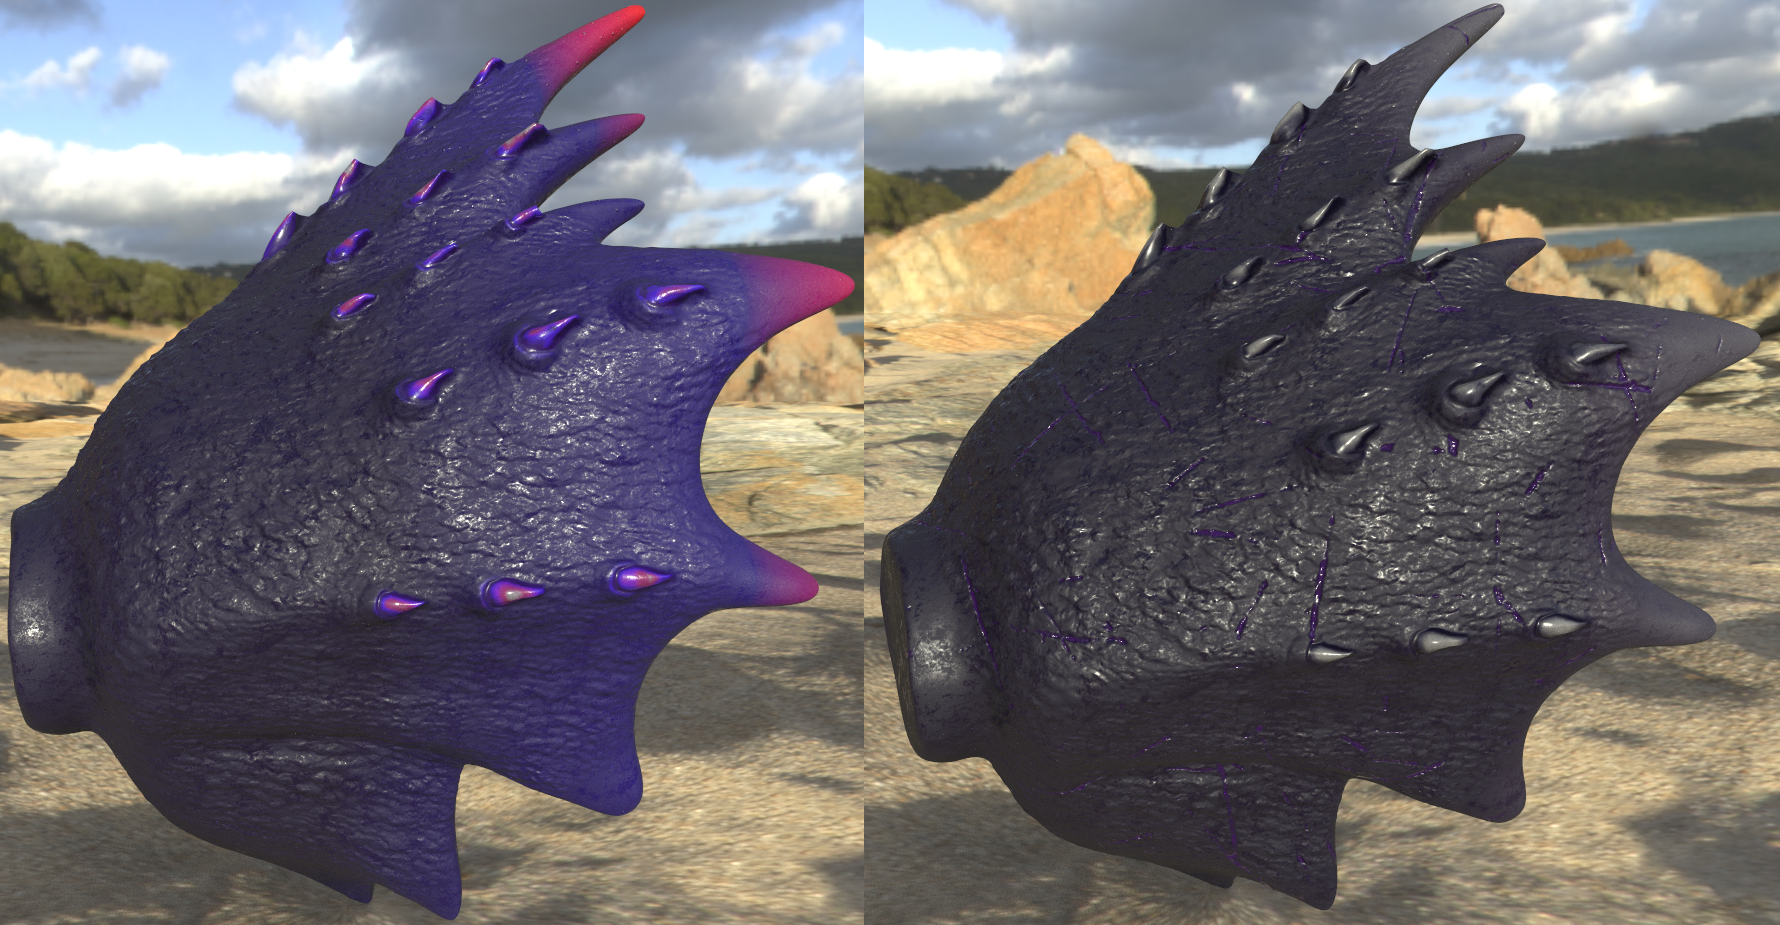
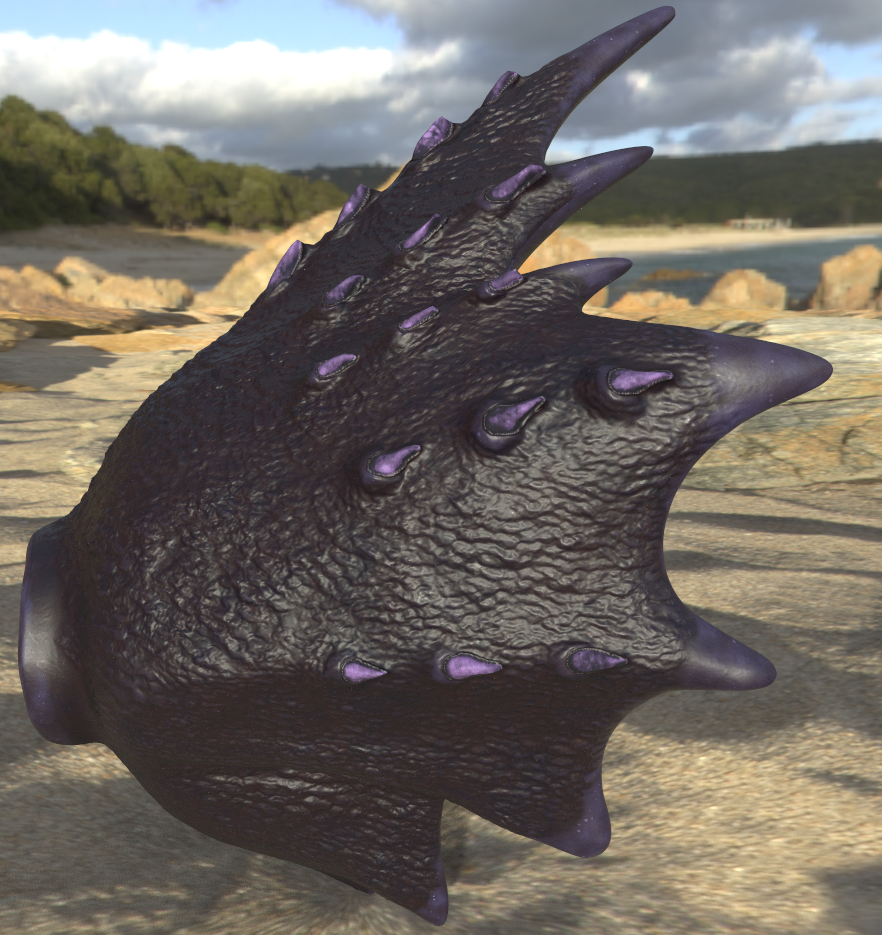
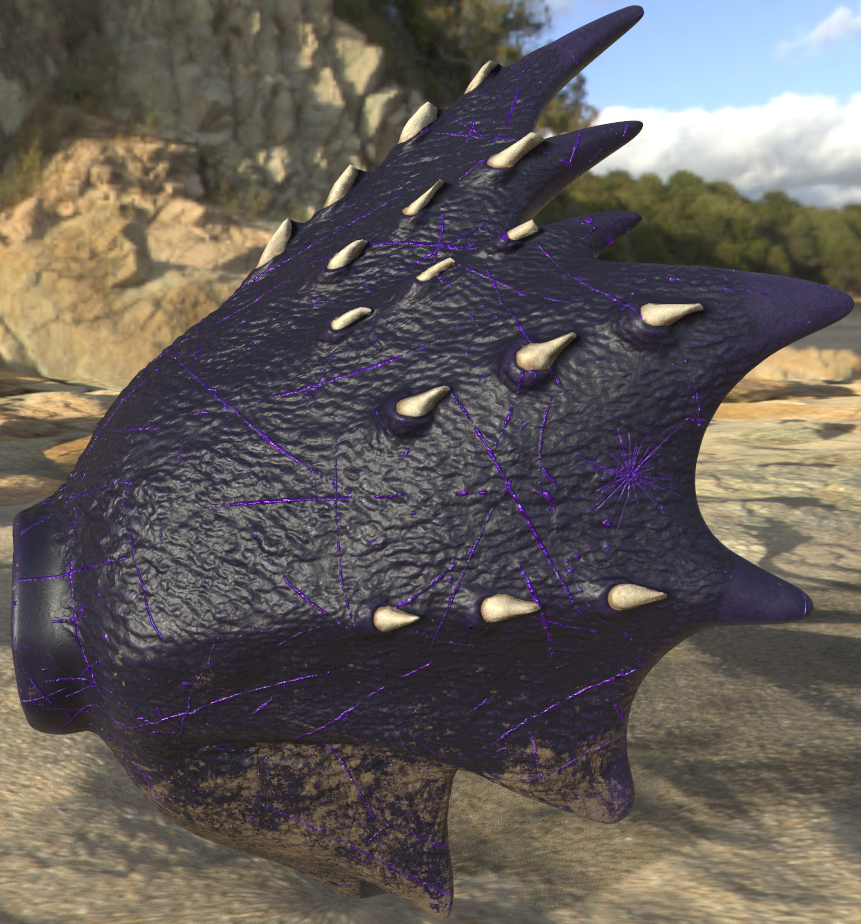
On the left is the final texture concept for the body. On the right is the final version of the body texture after working with the director.
Final Look:

