
Specialisation Project: Hall
The aim of this project was to recreate a dark wooden panelled hallway based on photo reference and built to scale.
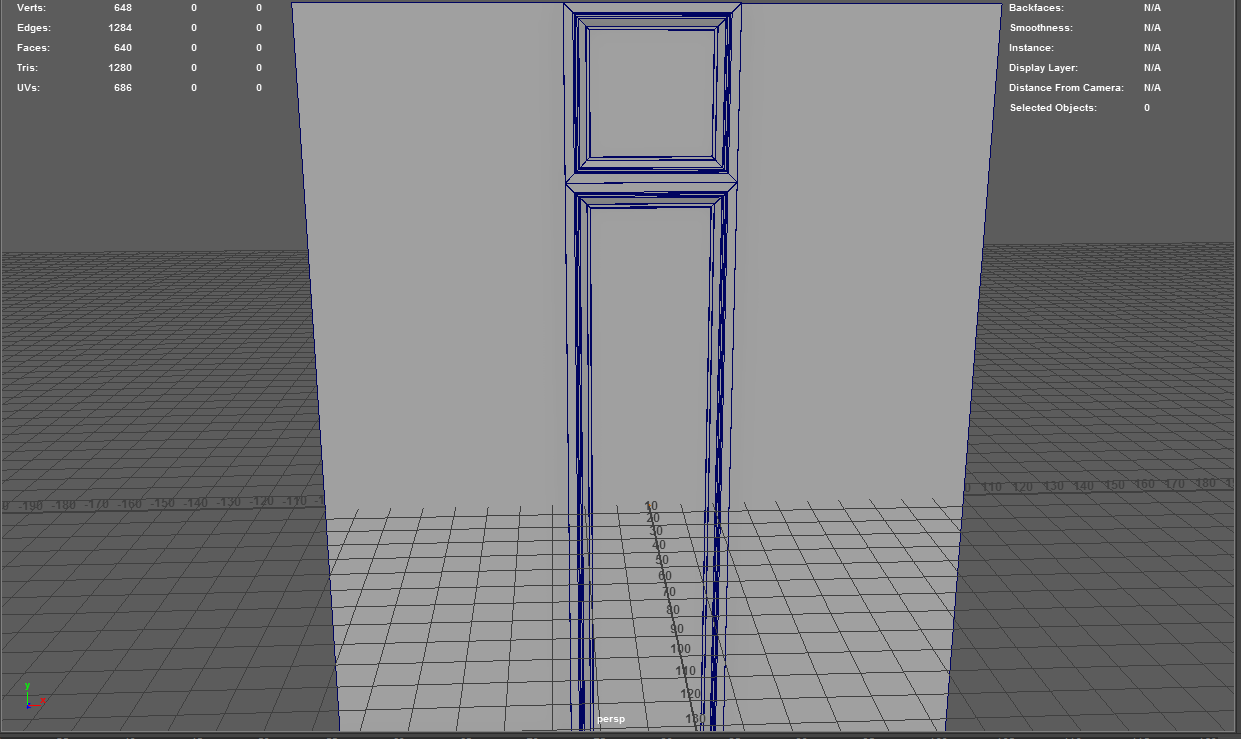
At the start of this project I didn’t understand the workflow of modelling in Maya with subdivision in mind and then rendering in Renderman, so a lot of the assets have manual subdivision applied to them rather than sub division being applied at render time by Renderman, so this is the reason for the needlessly dense meshes seen in this post.
Here is a selection of reference images used for this project:
Hall reference images
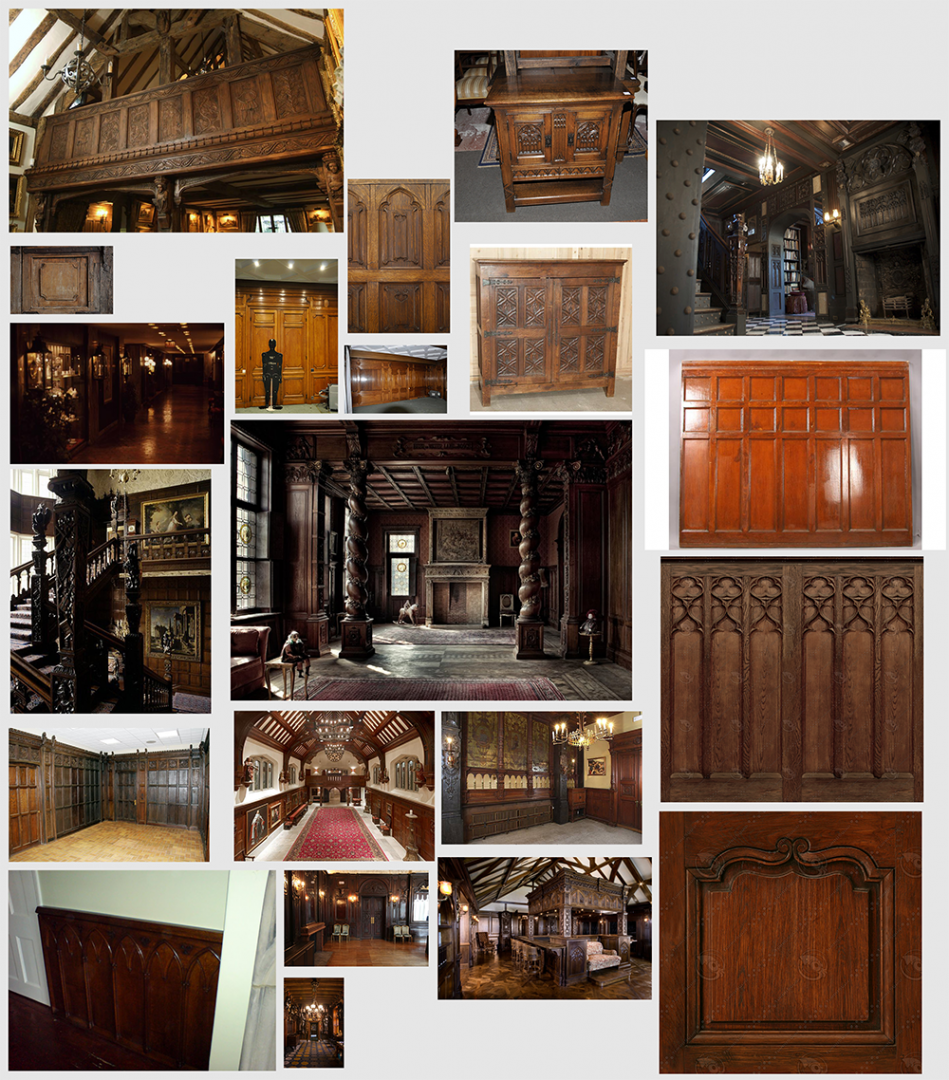
Wall Panels:
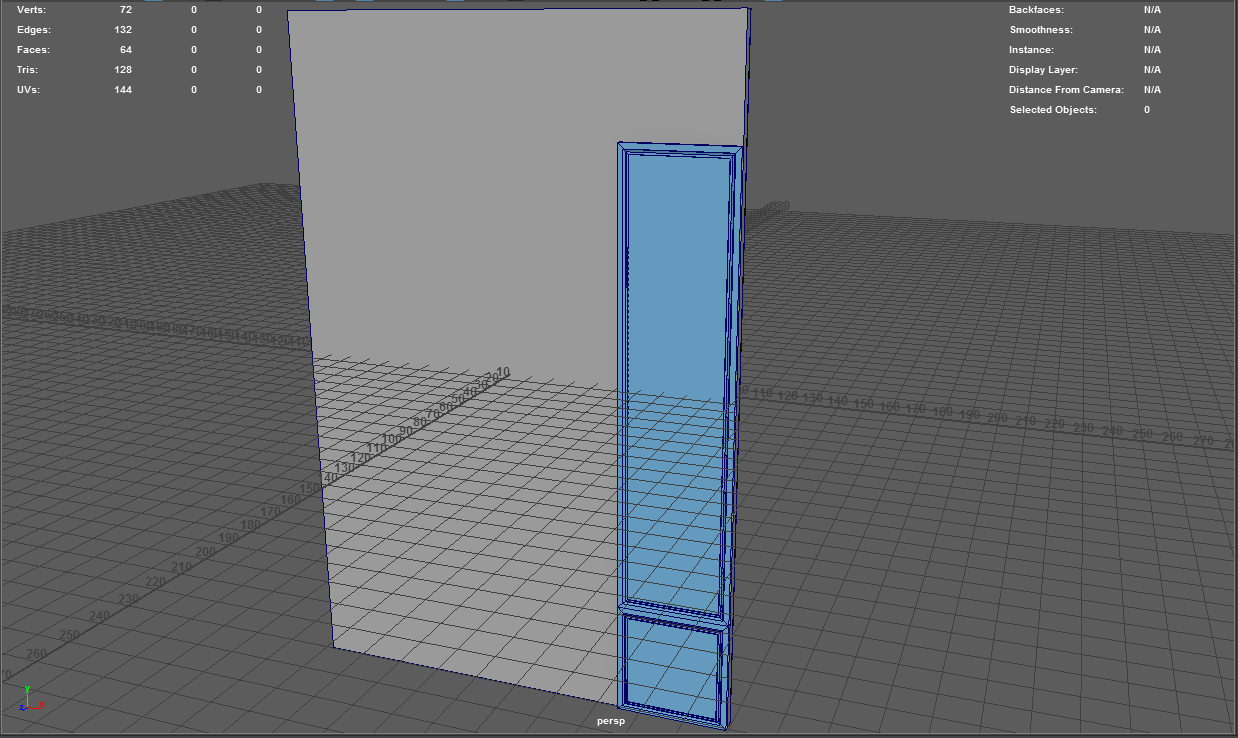
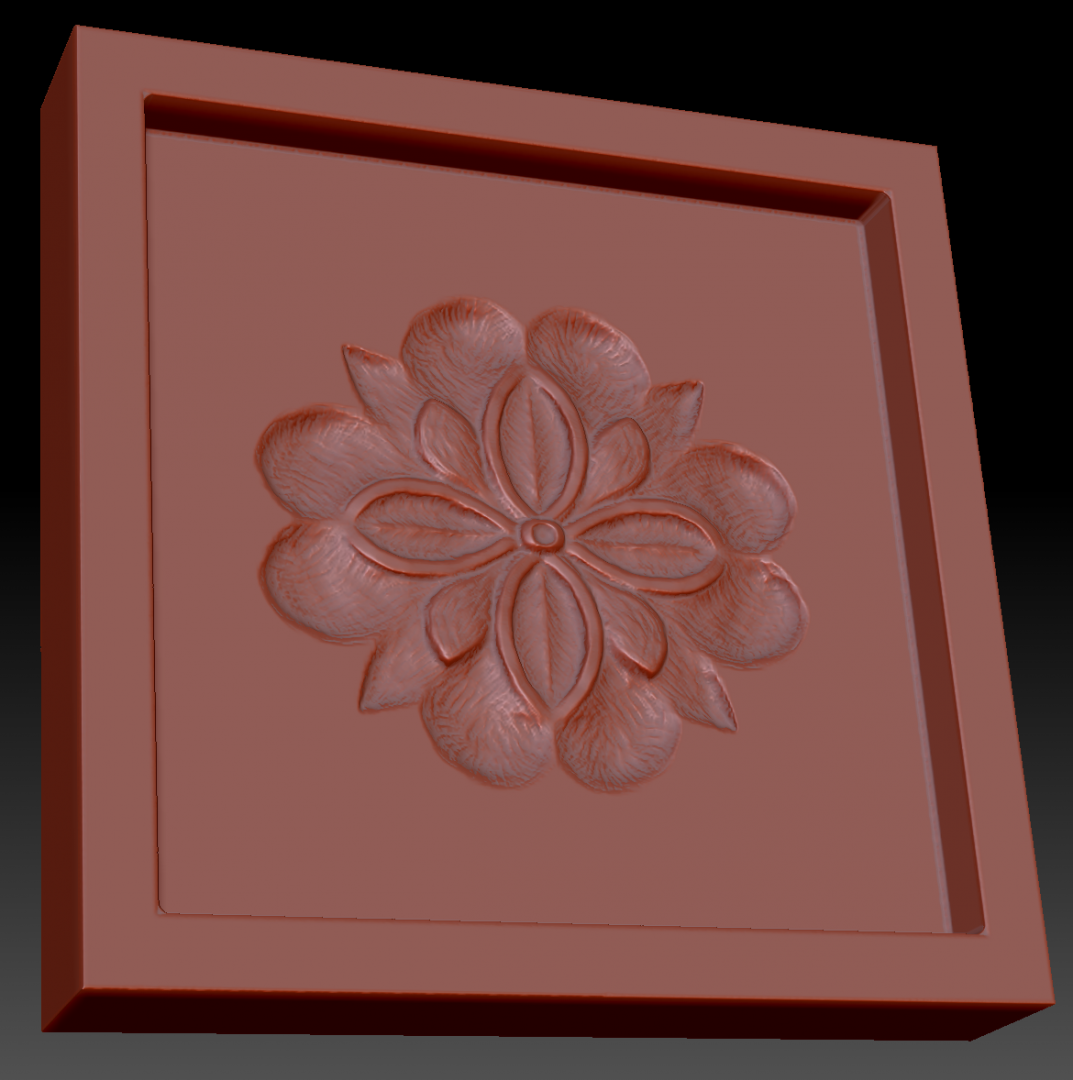
The wall panels are made up of 2 smaller panels, in 2 different styles, a simpler one and a more complicated one.
Simple wall panel
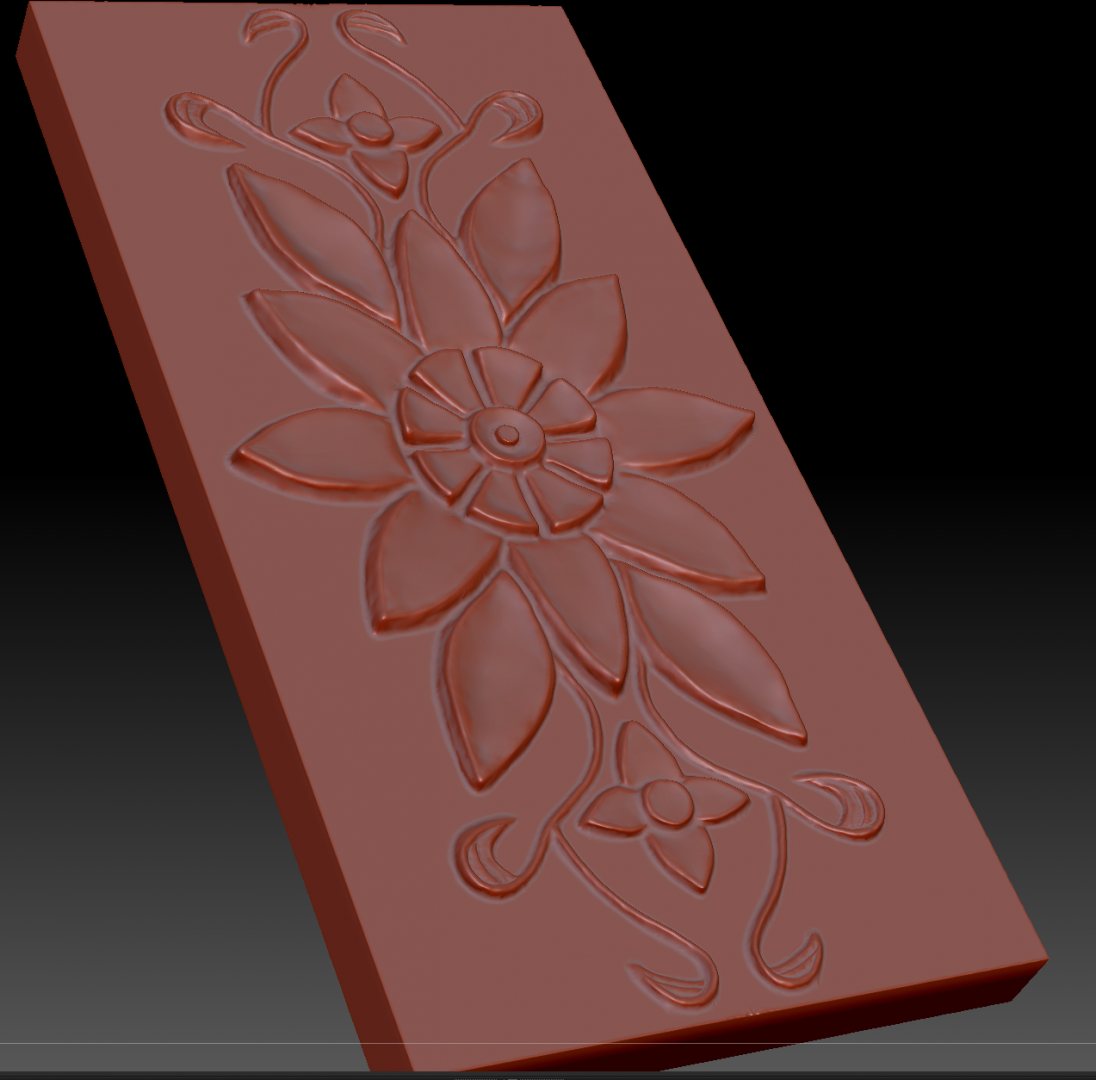
Complicated wall panel
Close up of complicated wall panel.
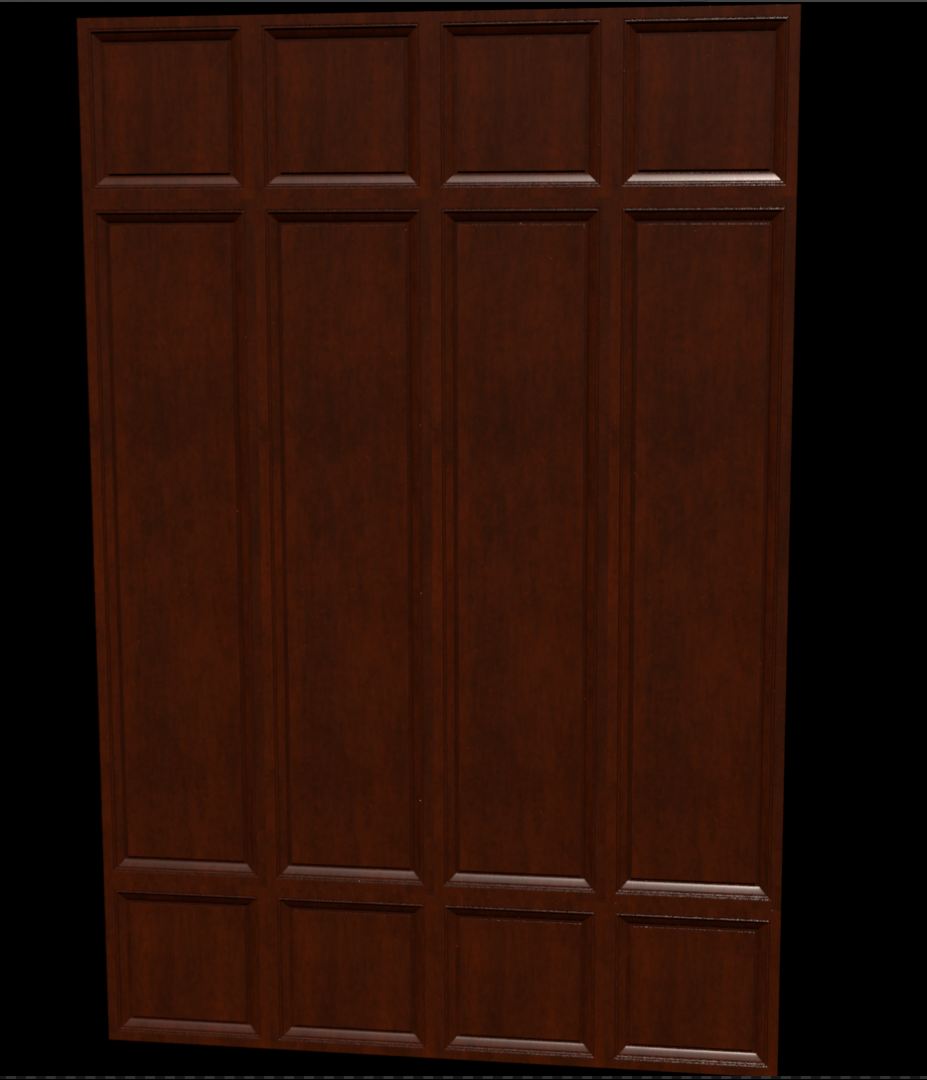
Wall panel rendered with Renderman.
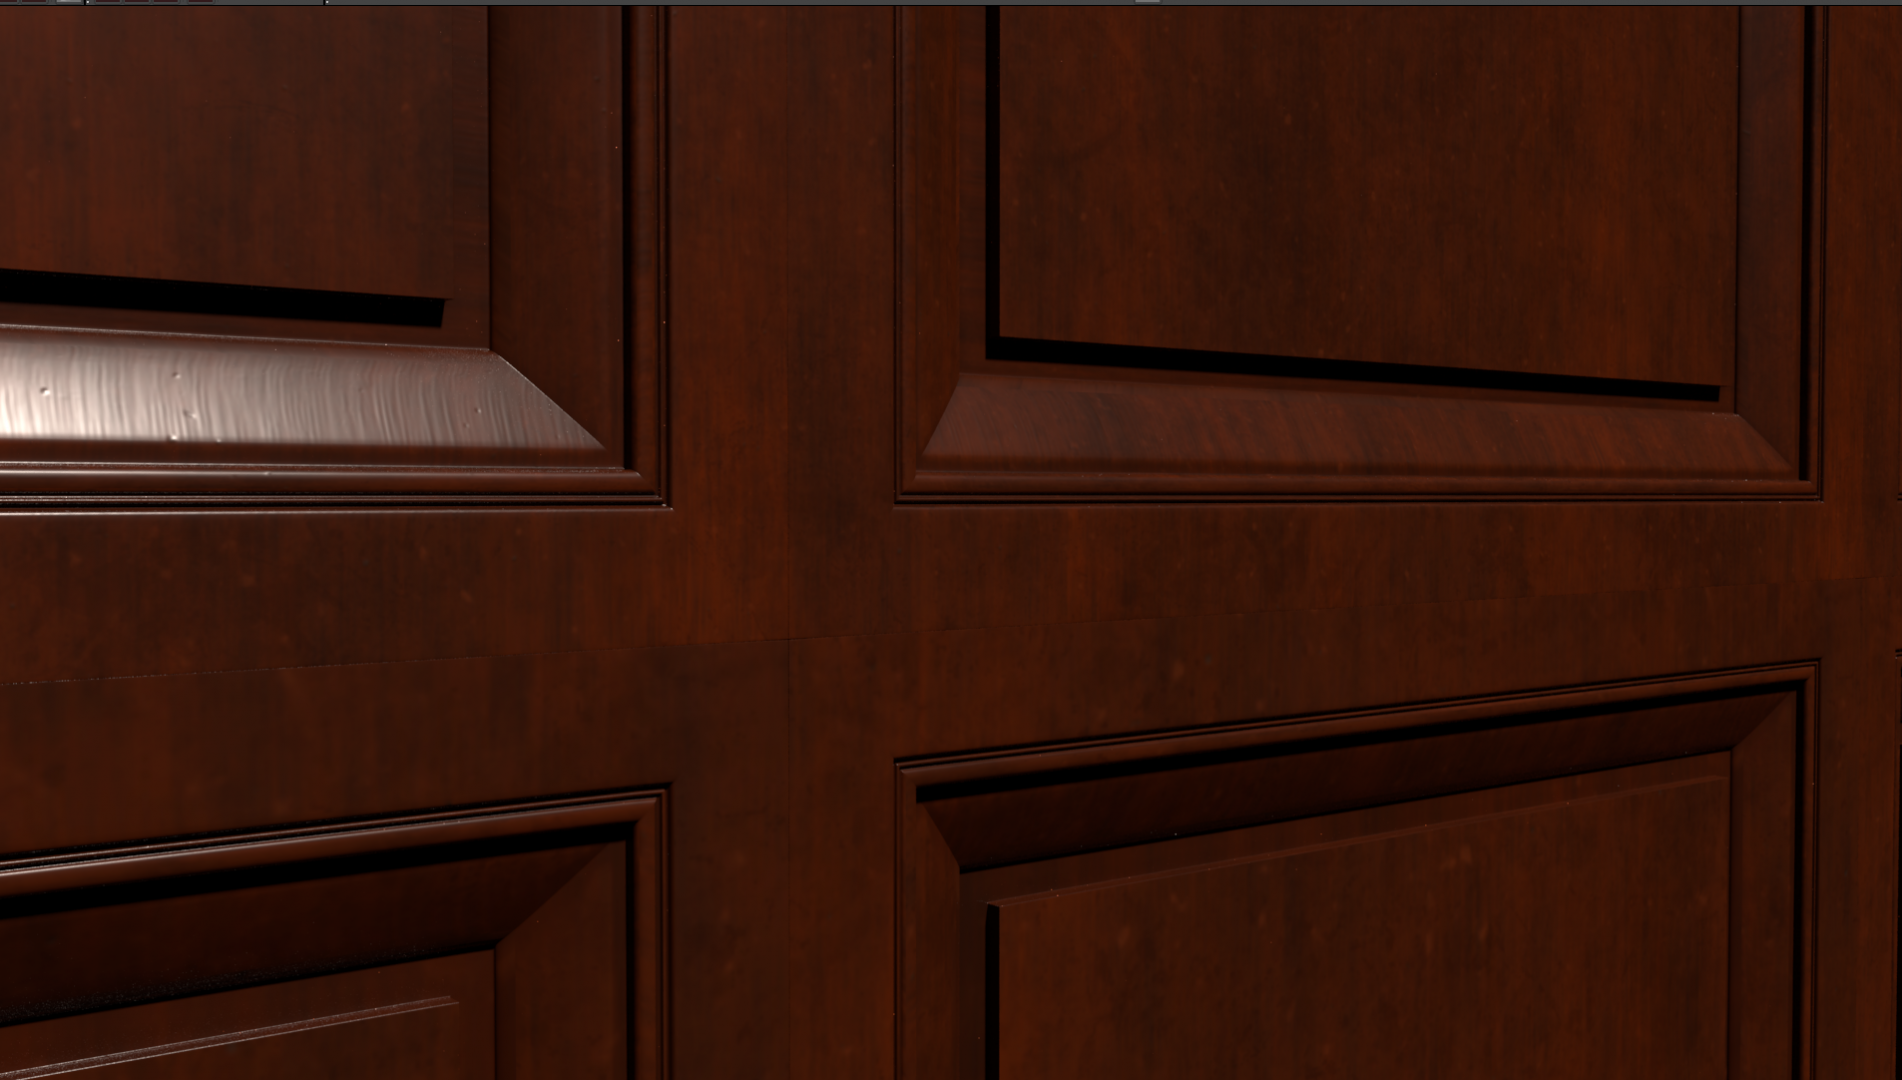
Wall panel close up render.
Wall Light:
The light was a great source of problems when it came to render time, initially it contained a smaller sphere Renderman light, but this caused a never ending number of fireflies. After further testing I changed it to a larger cylinder shaped light, this removed just about all the fireflies, but left a rather noisy image that took a large number of samples and long render time to clear up. Finally, after much testing and setting changes my teacher Heath recommended the lights be removed and the glass replaced with a mesh light, this resulted in the number of samples required to get a clear image to be cut in half.
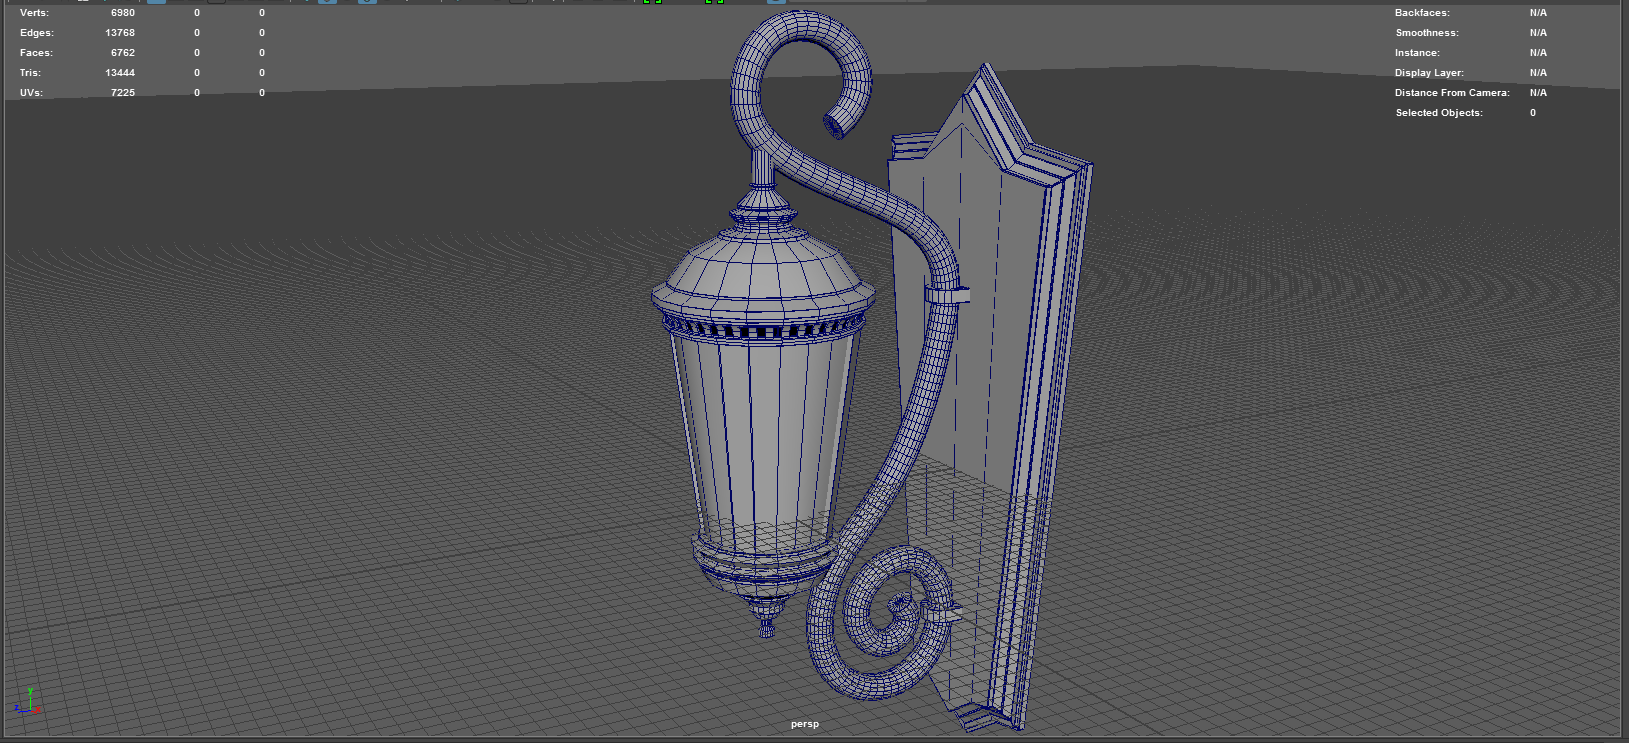
Hall light without Subdivision
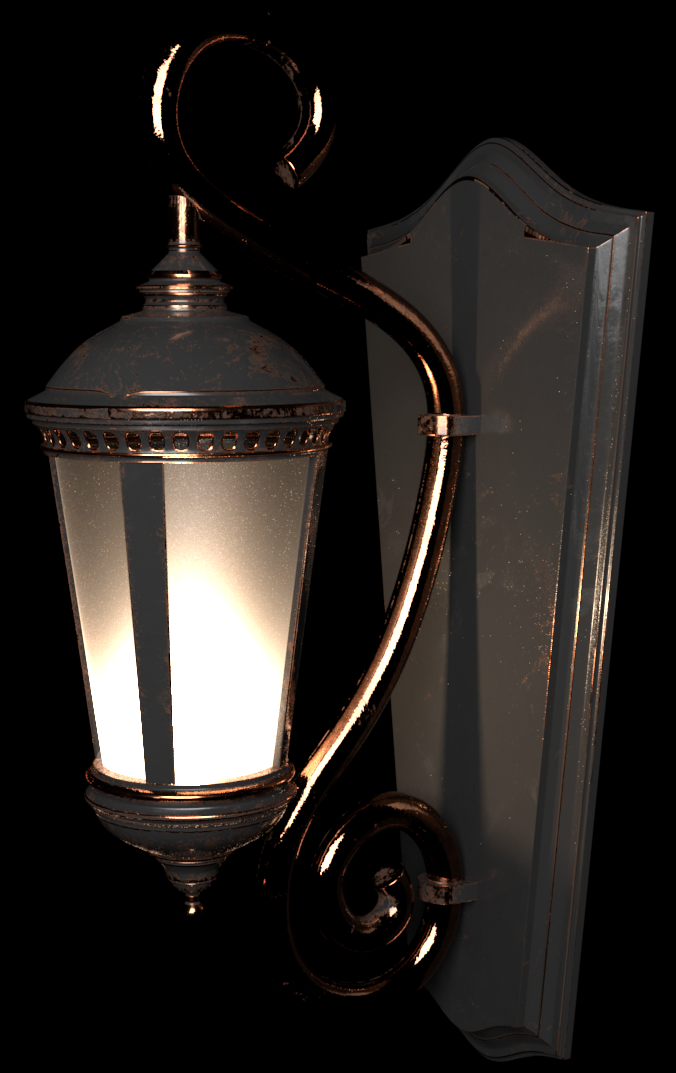
Hall light rendered and with render time SubD applied and the initial Glass and Sphere light in place.
Large Archway:
The large archway is mainly made up of the same panels as the walls, with the exception of the inner face having special carved panels done in Zbrush and a custom skirting board at the bottom.
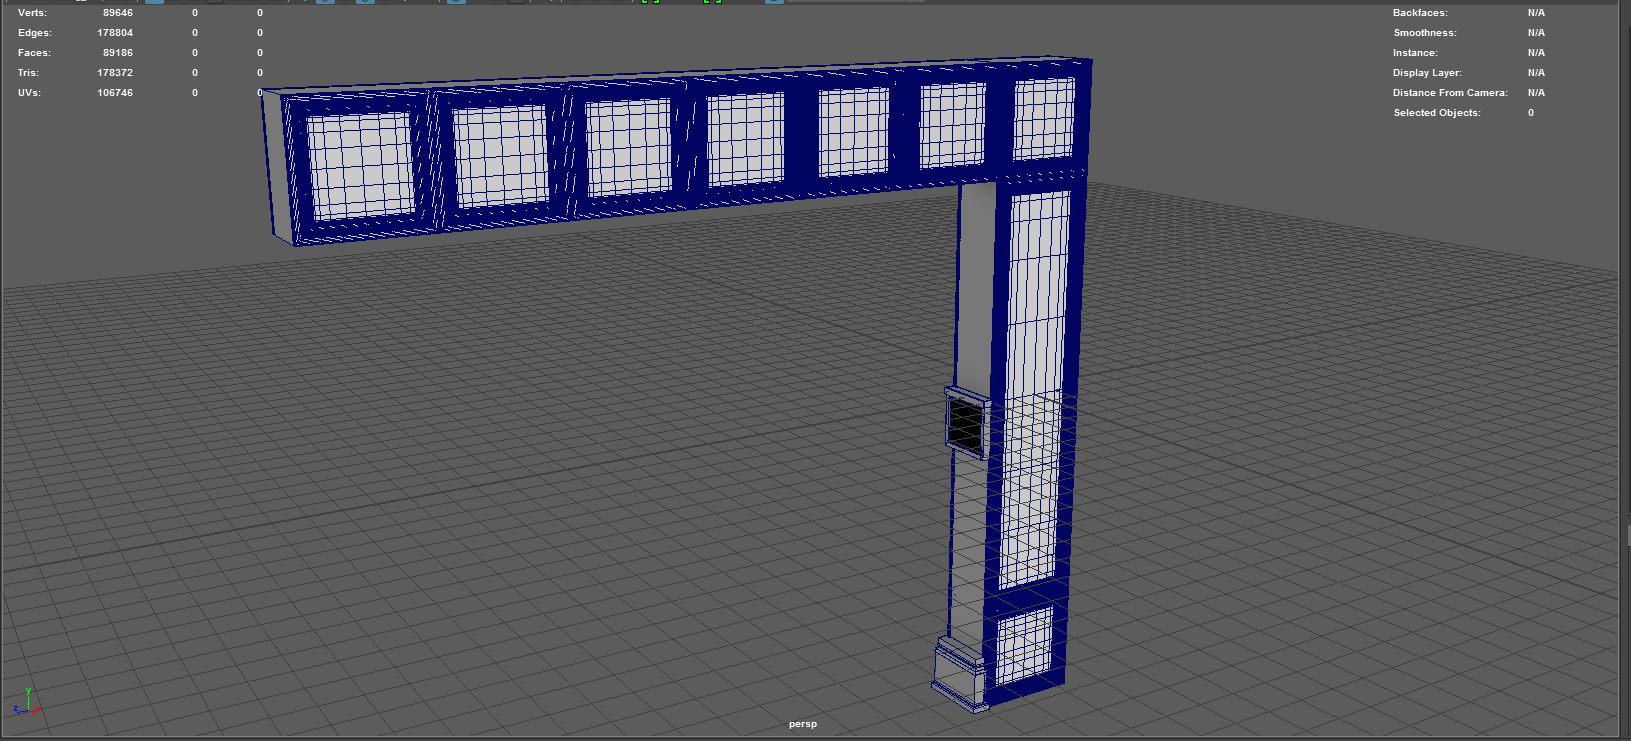
Building of the large archway
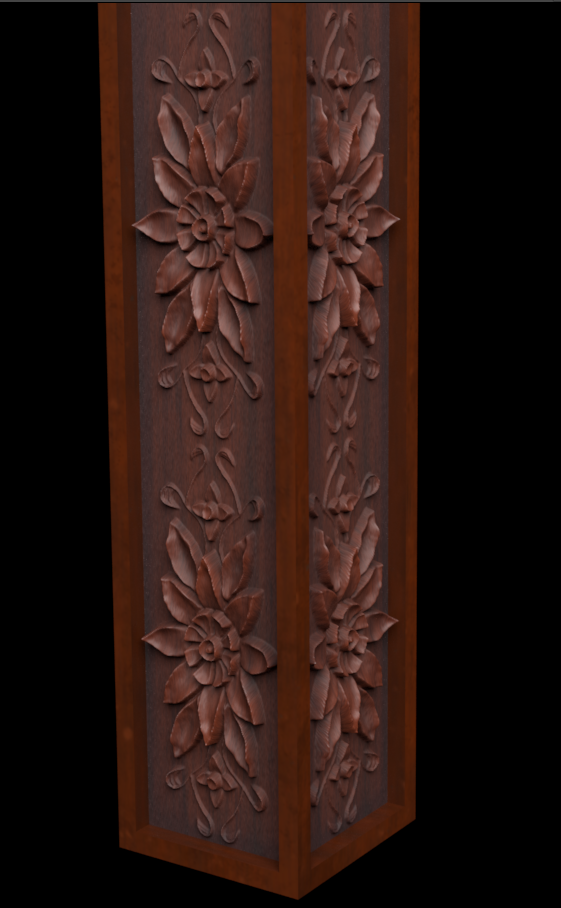
The carving for the inner panel of the large archway.
Small Archway:
The small archways are very simple with a repeating displacement texture along their length.
Carving for the repeating displacement in the small archway.
An early test render of the small archway, displacement values still needing tweaking.
Simple Roof:
The simple roof was made to look like wooden beams over a simple older plaster ceiling.
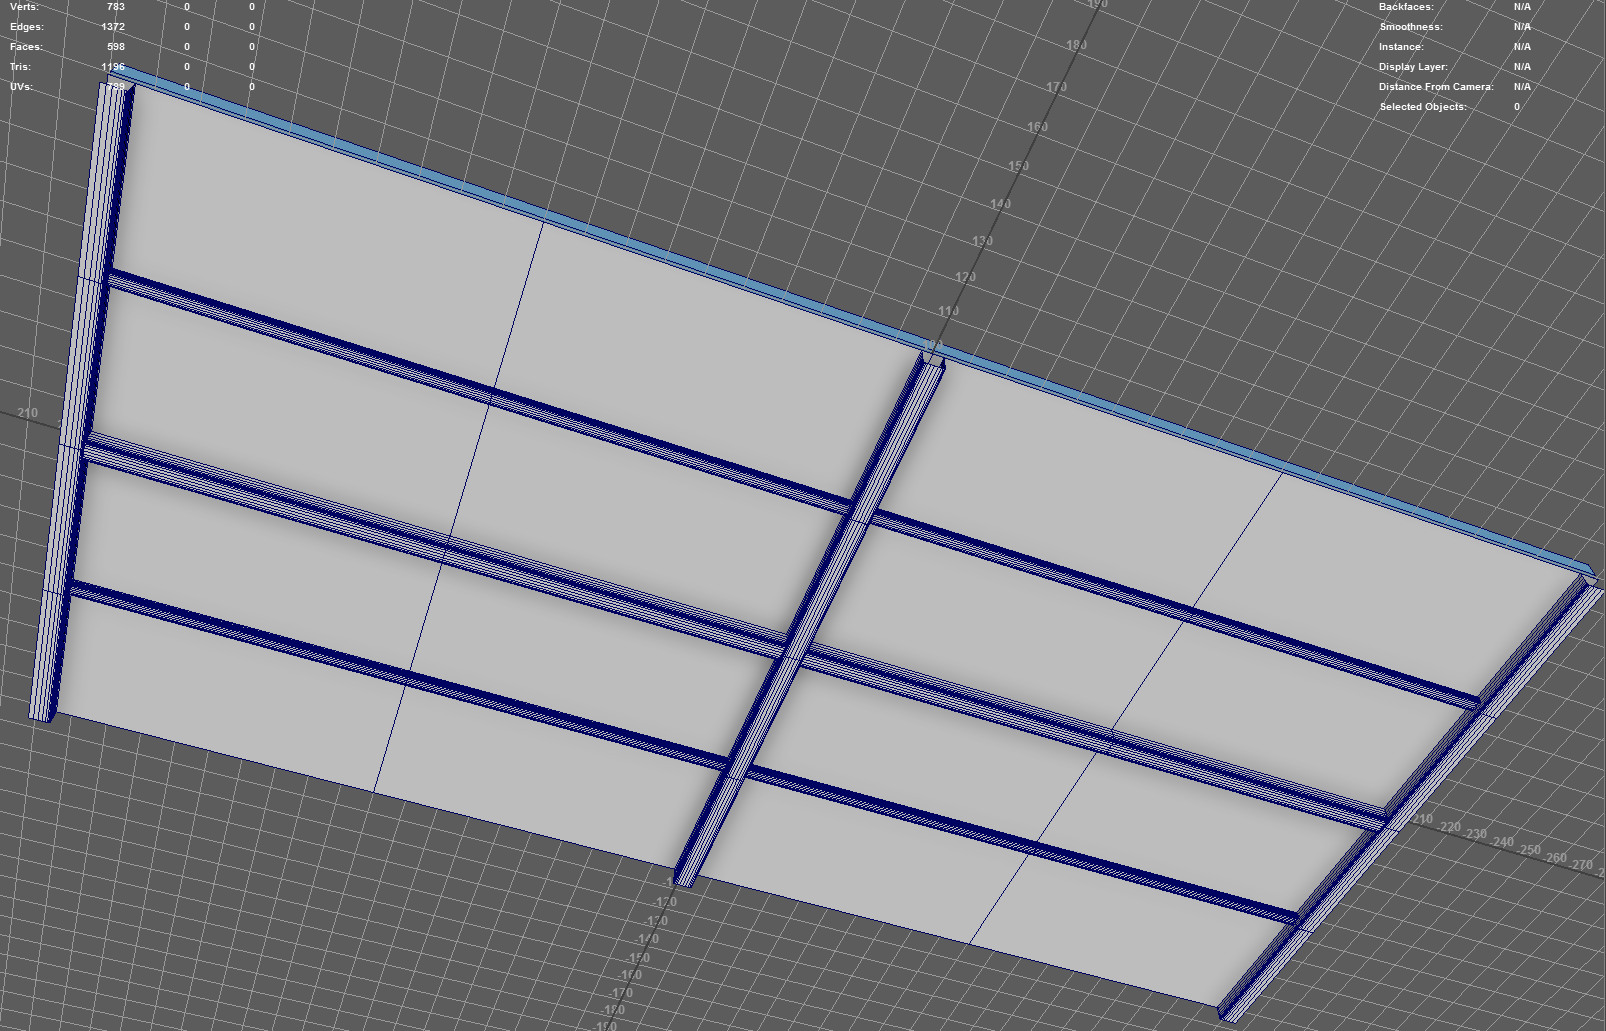
Layout of the simple roof segment.
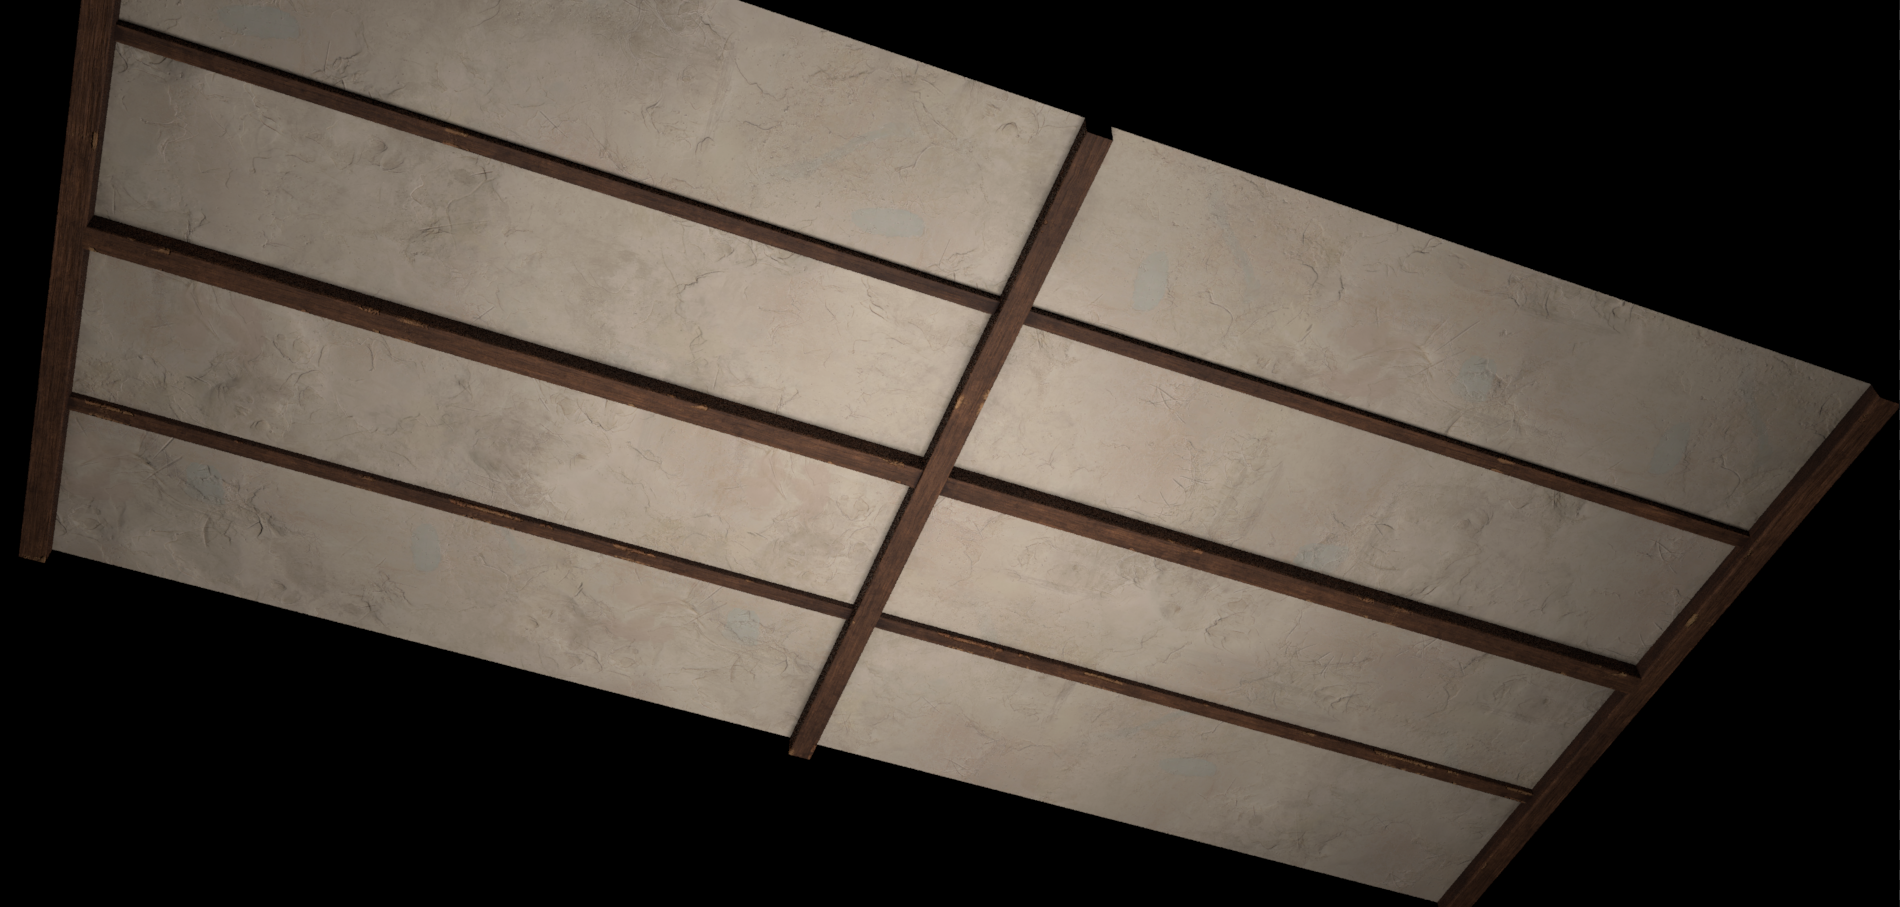
Render of the simple roof segment,
Complex Roof:
The complex roof was made look much more up market and is made out of wood panels similar to the walls.
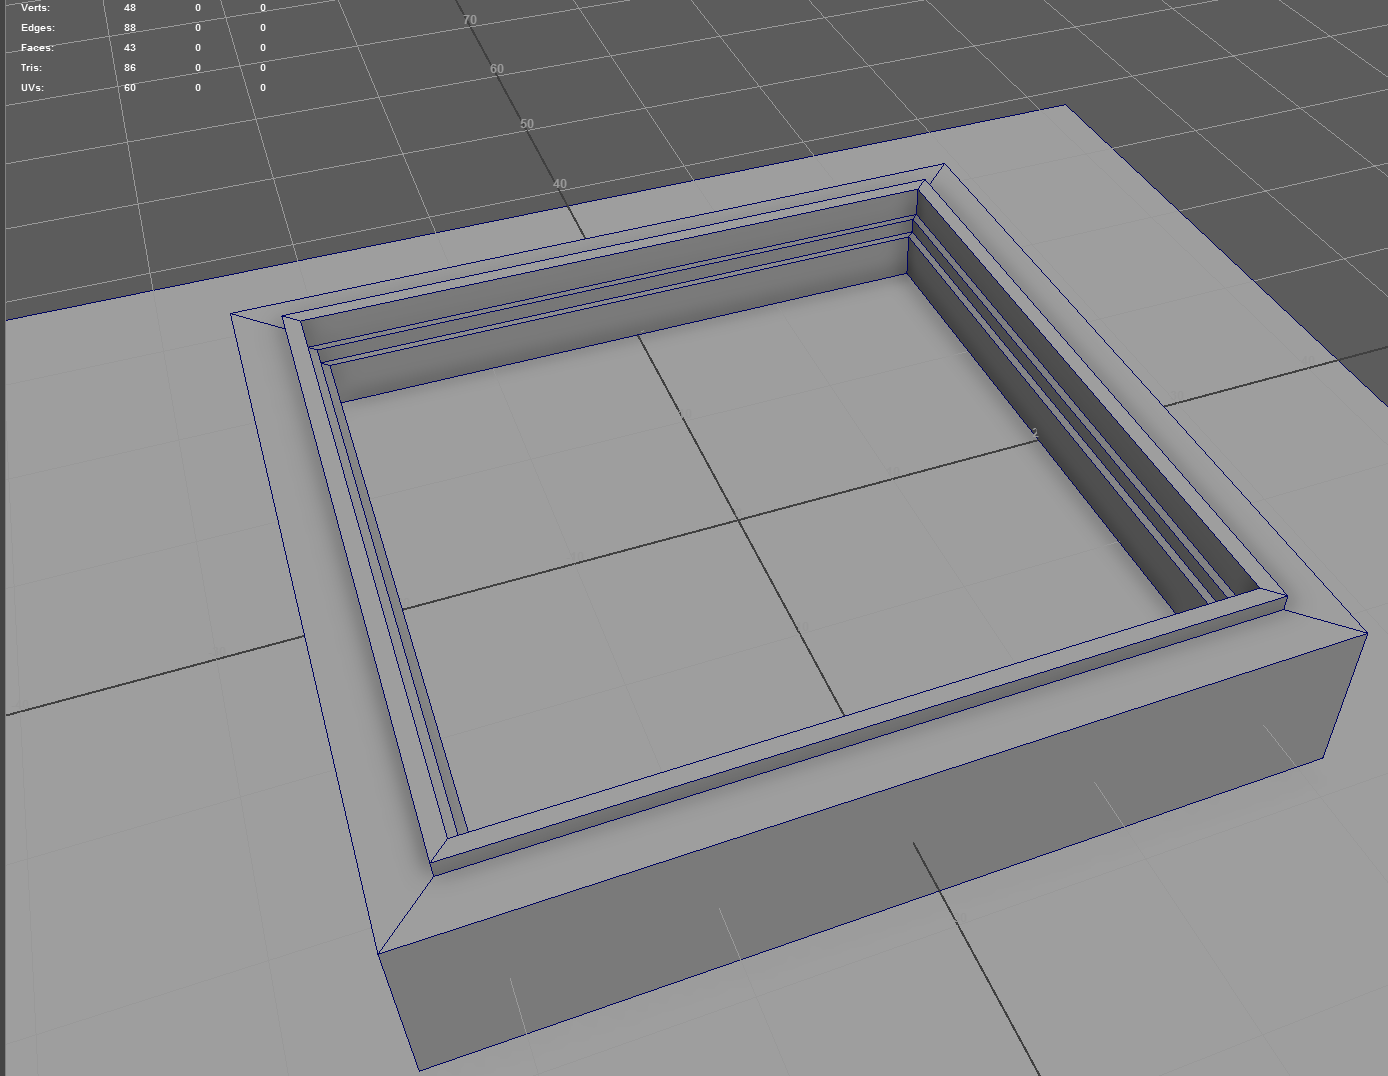
One of the Panels that makes up the complex roof.
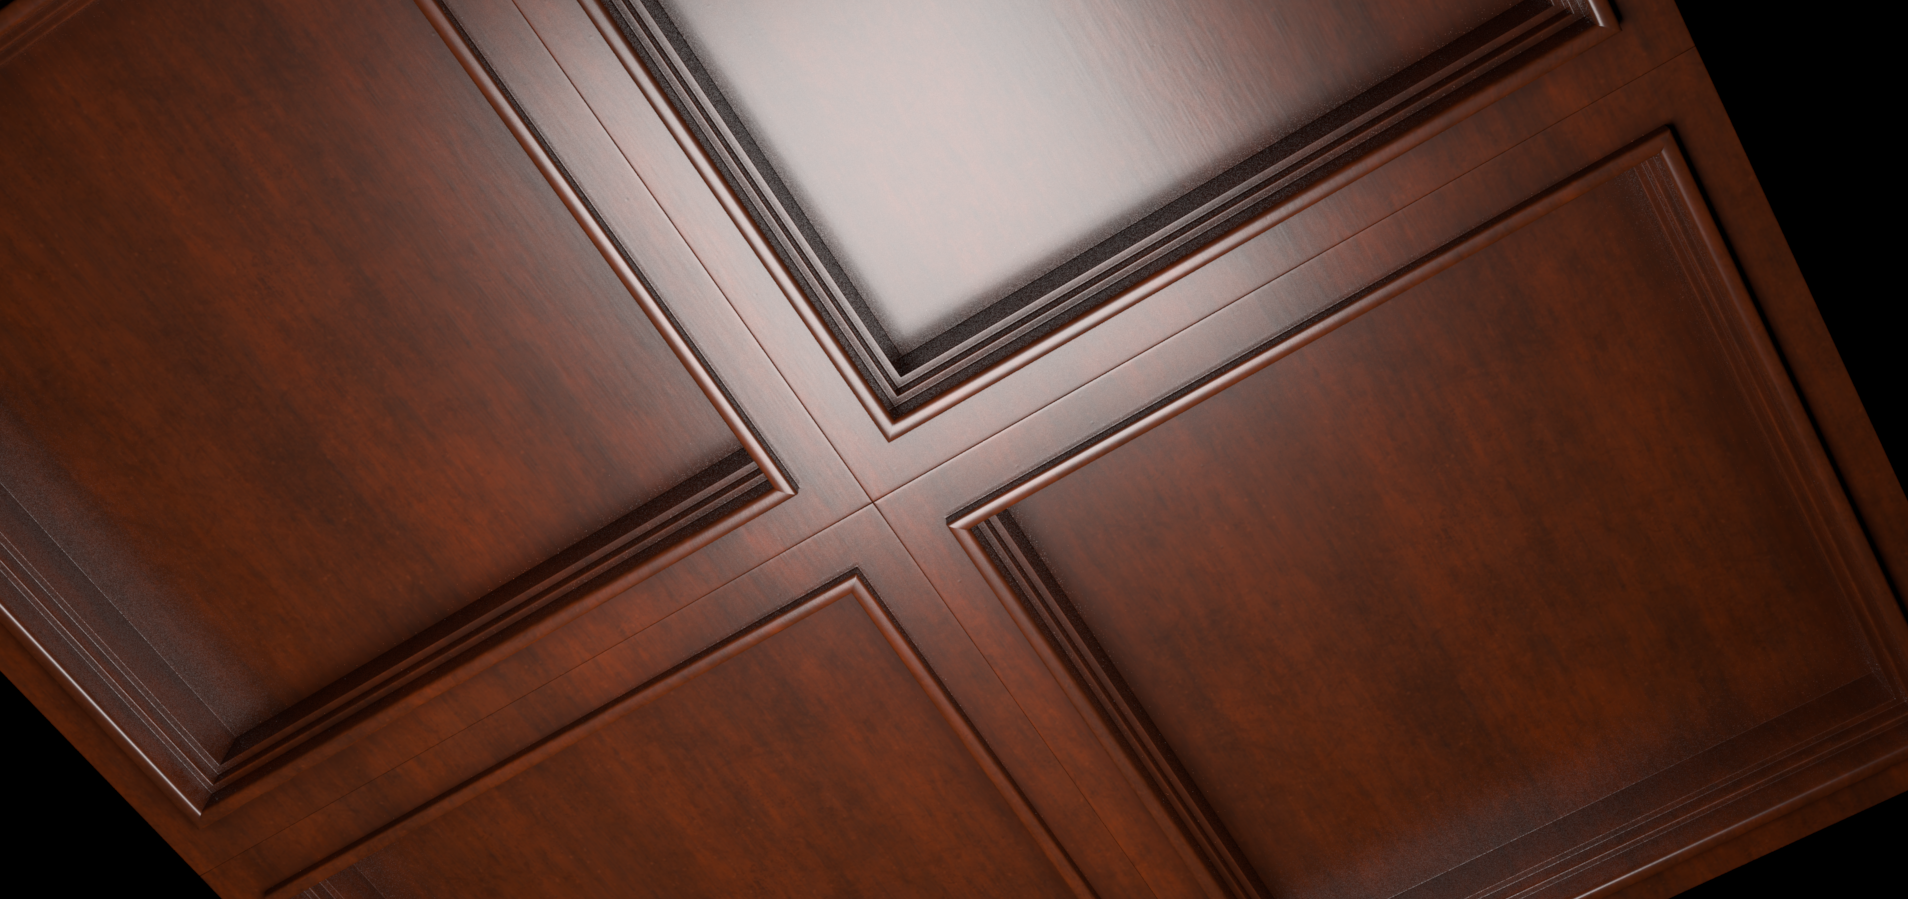
A render of the complex roof segment,
Hall Cabinet & Table:
Wooden cabinets and tables are placed a long the hallway, to make if feel more realistic and feel less empty.
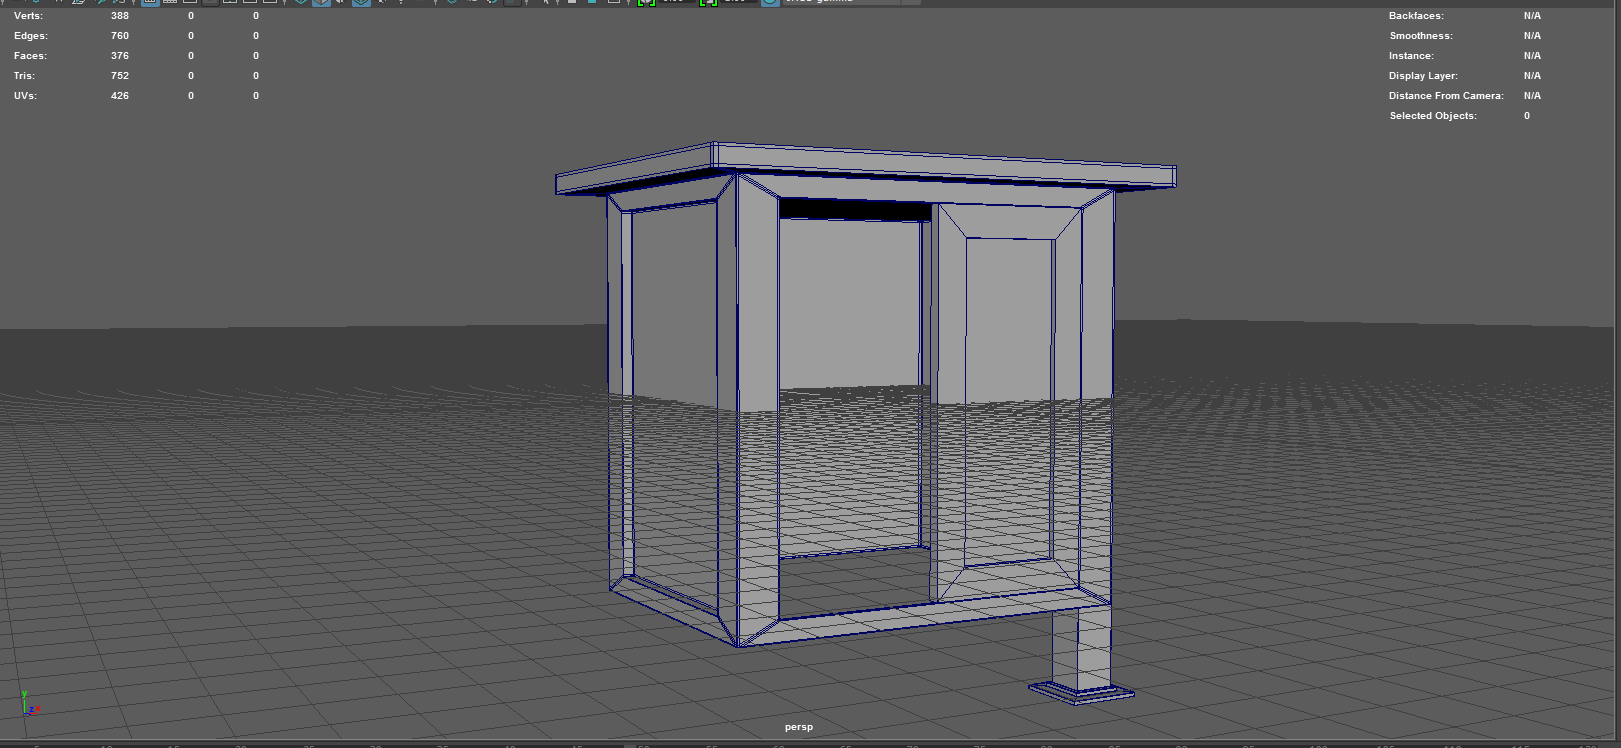
Cabinet build in progress.
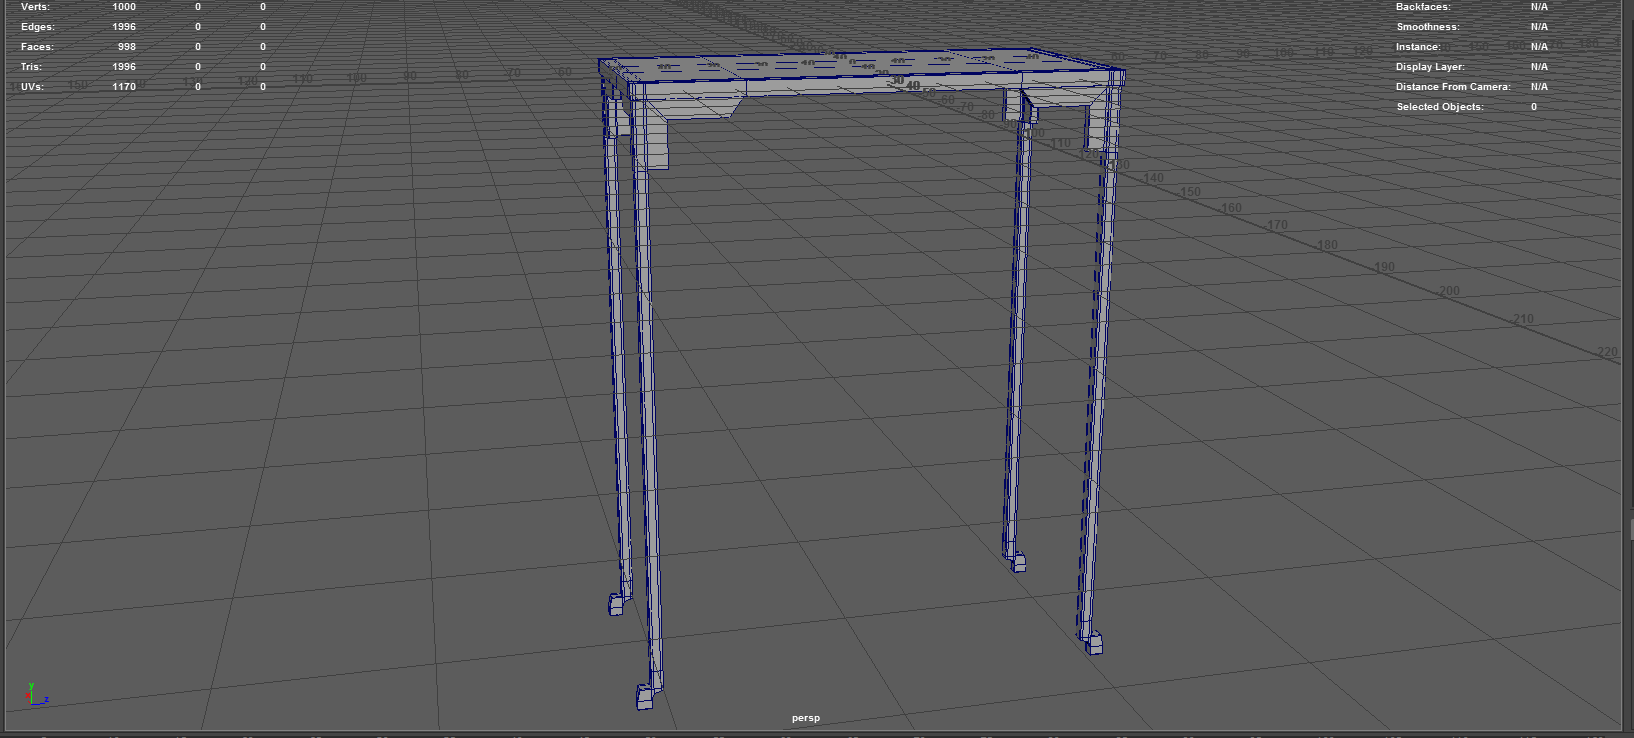
The table before subdivision/smoothing.
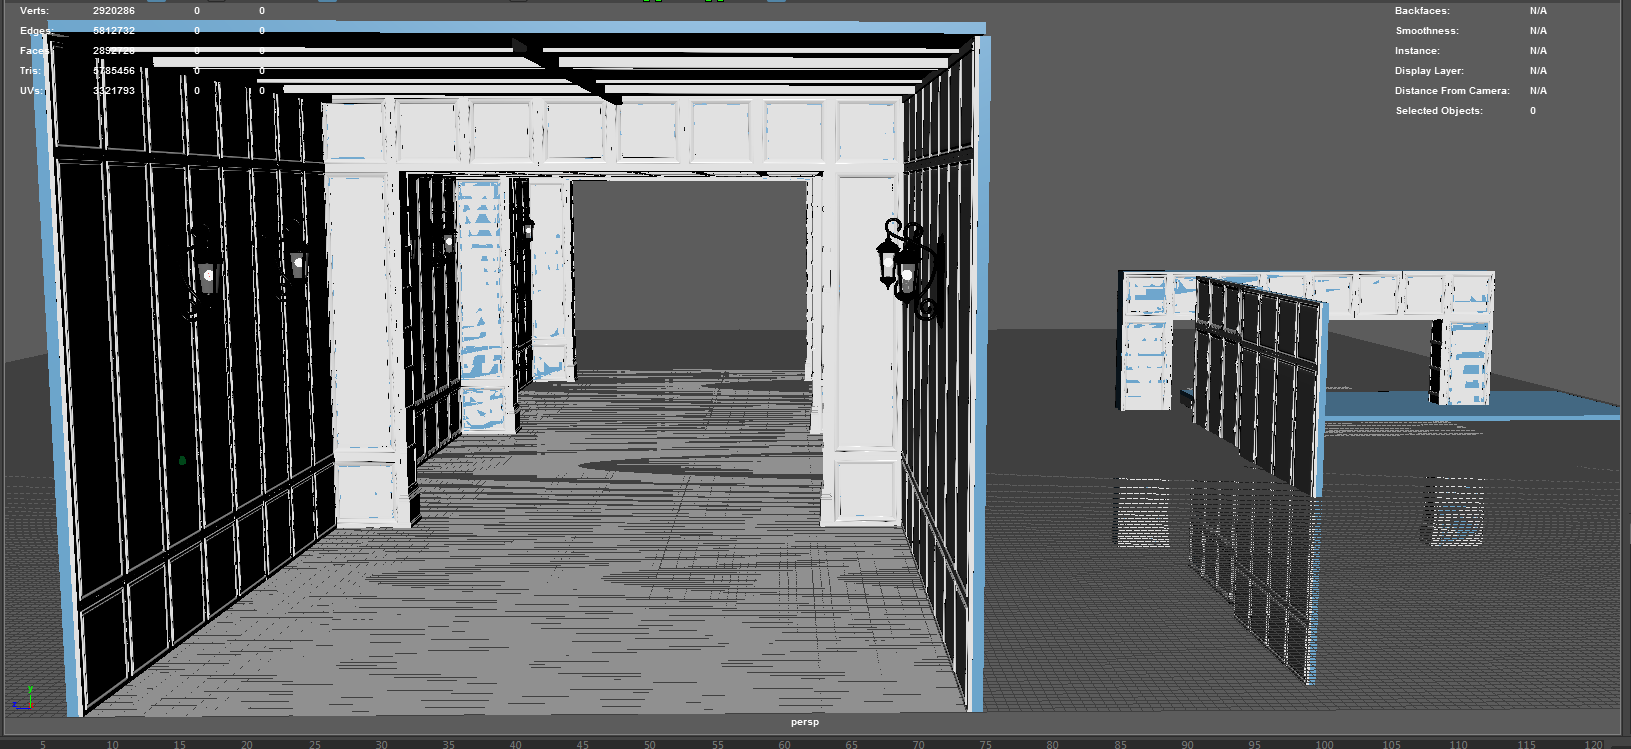
Hall Layout:
The hall was designed to be modular to allow for easy layout and extension, there was no set length for the hallway, I tried a few different lengths and layouts till I came to what felt was right.
Starting a layout the of the hall.
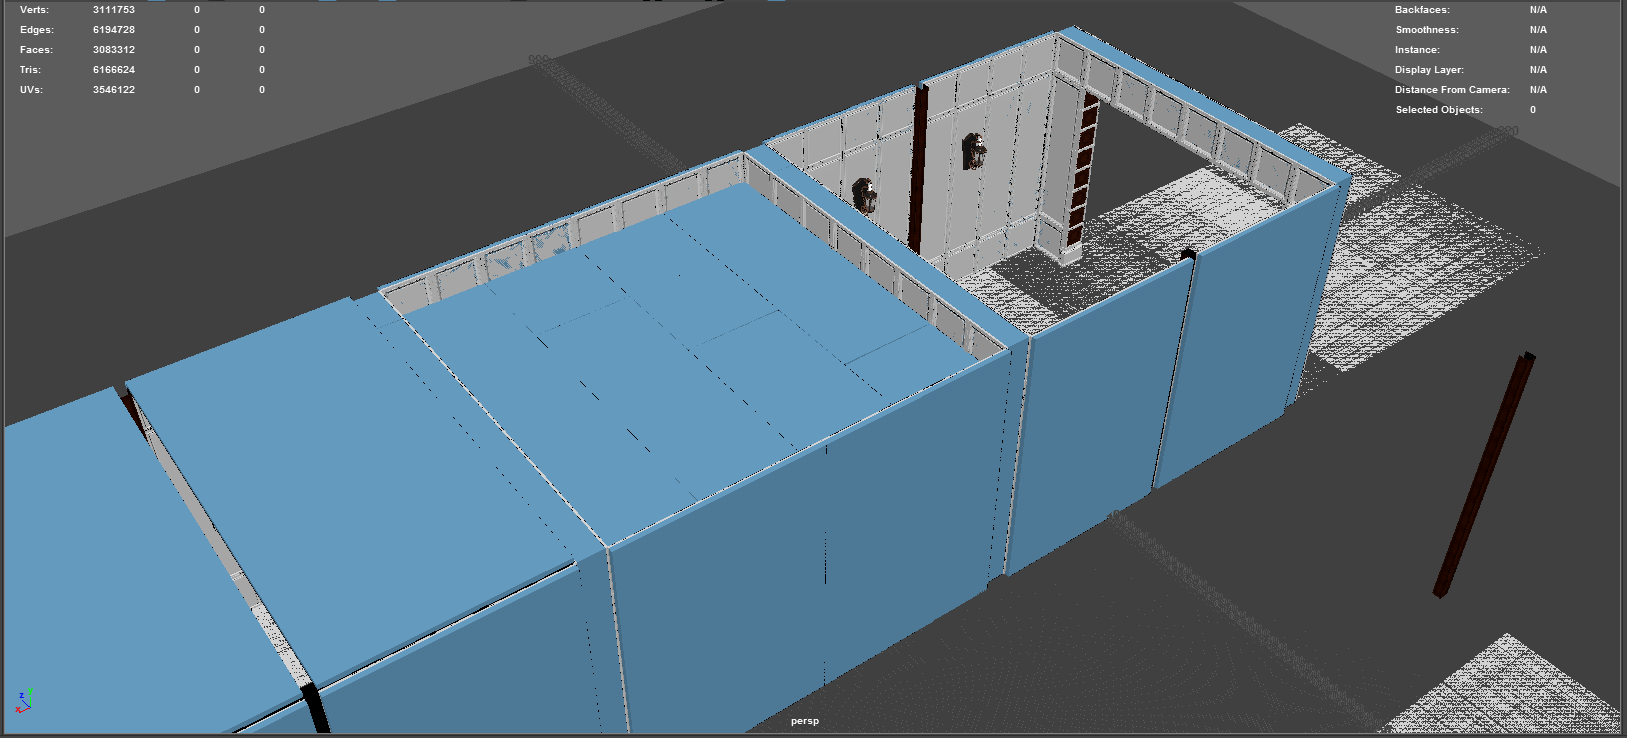
Working on the roof segment layout.
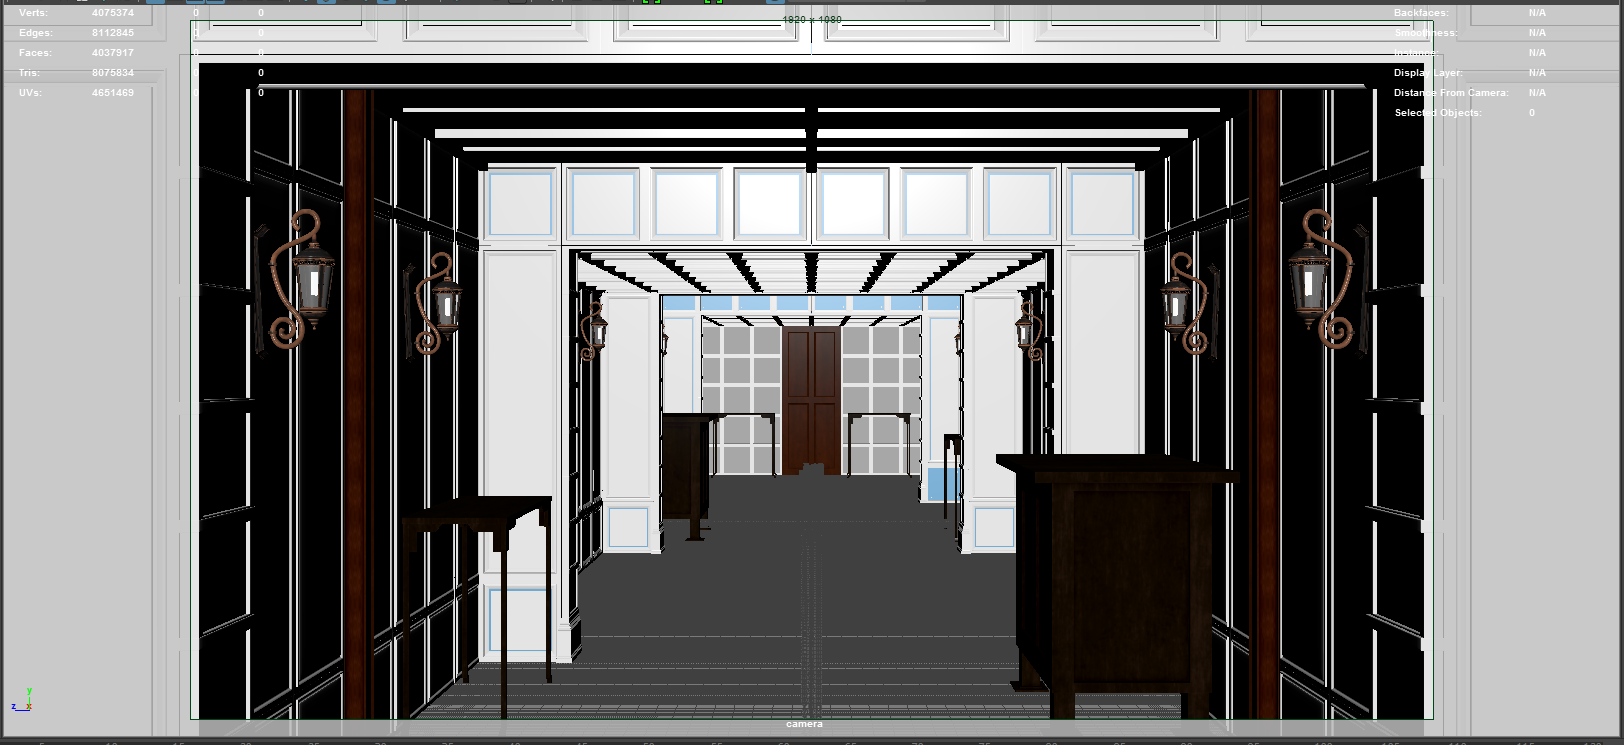
The final layout of the hall in Maya.
Feedback:
There was much discussion and testing around how to initially reduce the large number of fireflies between Darrel and myself. And then between Heath and myself on how to improve the render times and reduce the noise, as it was taking in the order of 4-5 hours per frame to produce. After further testing Heath suggested replacing the glass in the lights with mesh lights and removing the normal Renderman lights, this reduced the render time/samples by half once it was implemented.
Final Look:
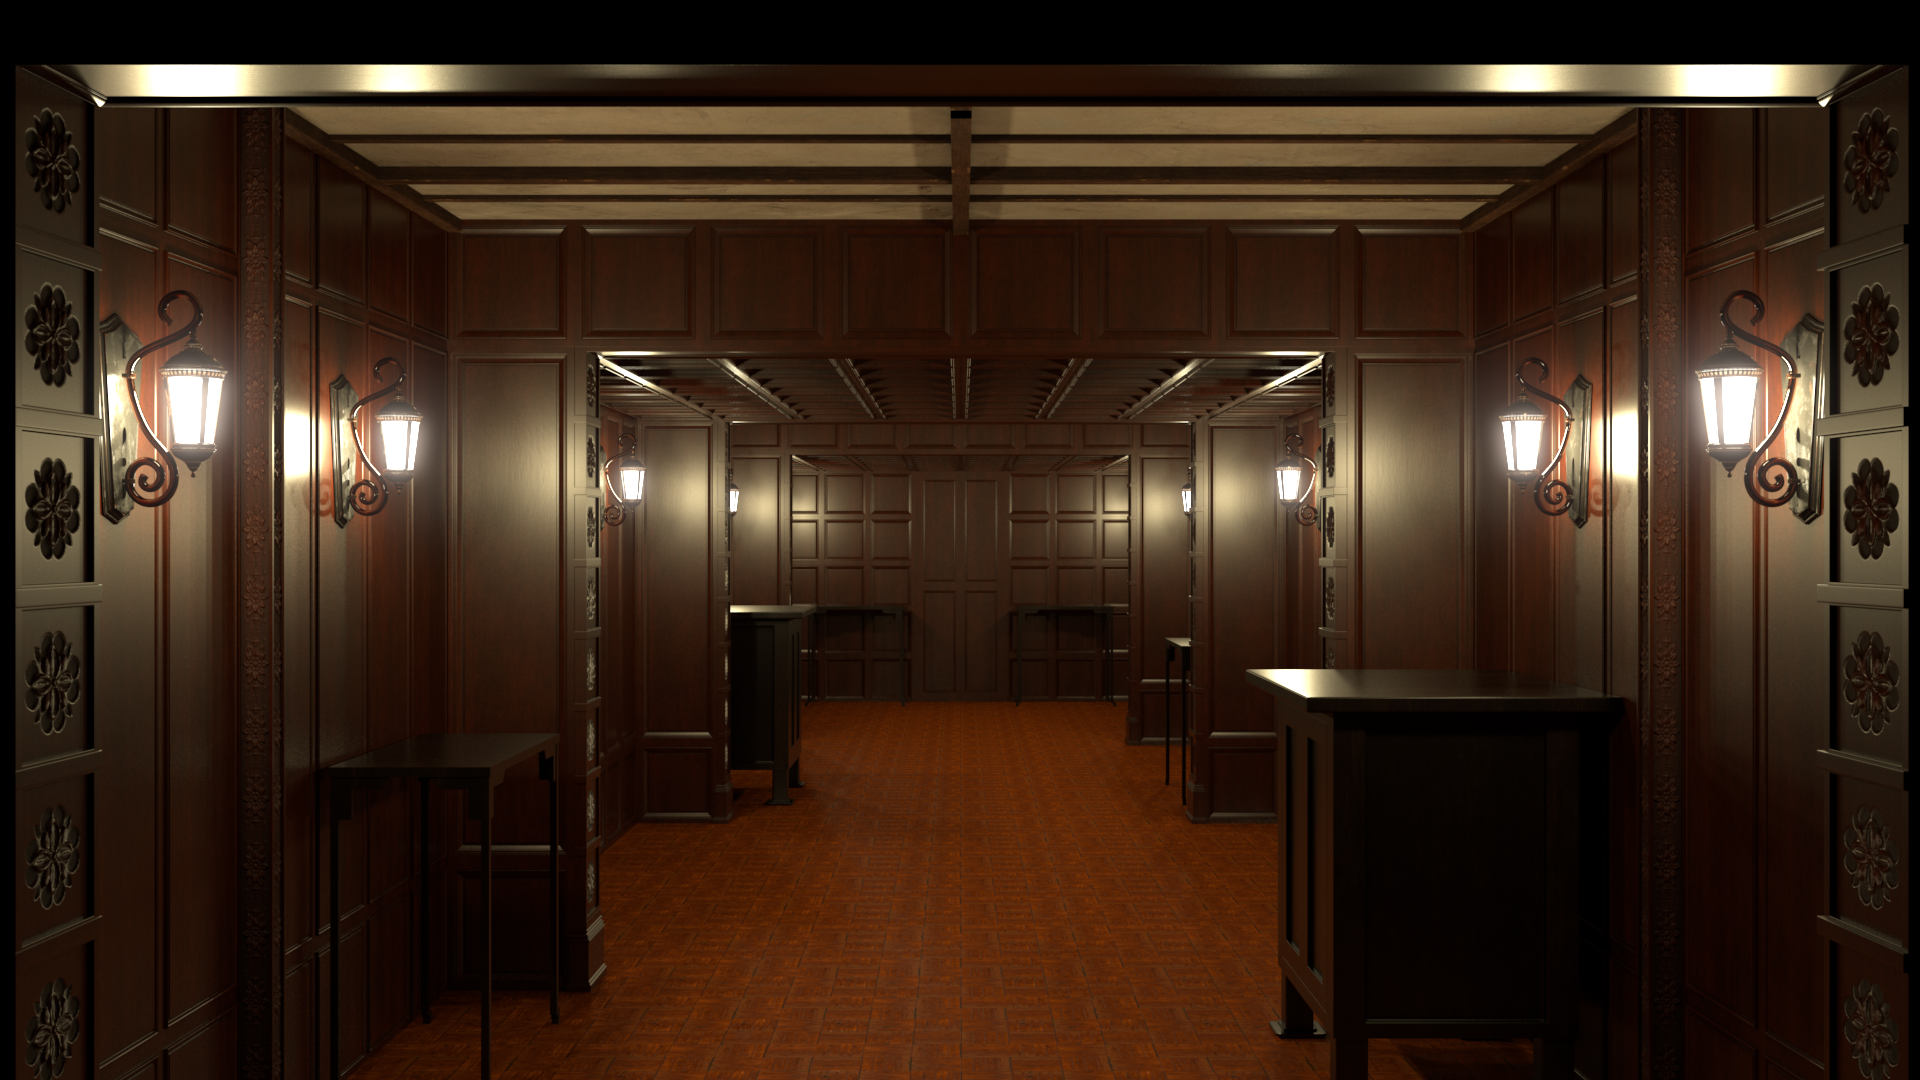
A frame from the final hall render after composition in Nuke to add glow/glare to the lights.
The final rendered scene.